3D printing is where problem-solving meets creative fabrication
Functional fabrication for the backyard — from Google Mini enclosures to reviving storm-damaged garden lights.
About This Hobby
I got into 3D printing relatively recently, and I certainly went all in. This was, of course, after many years of saying to my partner, “You know, if I had a 3D printer, we could just solve this problem ourselves.” So I’ve had “plans” for some time now. Recently, I was finally able to start making some of those plans a reality, and I love it.
From useful things to pretty things, to things that land somewhere in between, the fabrication process forces you to rethink not only how to make something, but how to actually make it in an easier, more efficient way. If you’re struggling with a print, that’s usually a sign that you need to stop and come at it from a different angle.
Featured Builds
Numenorean Gazebo
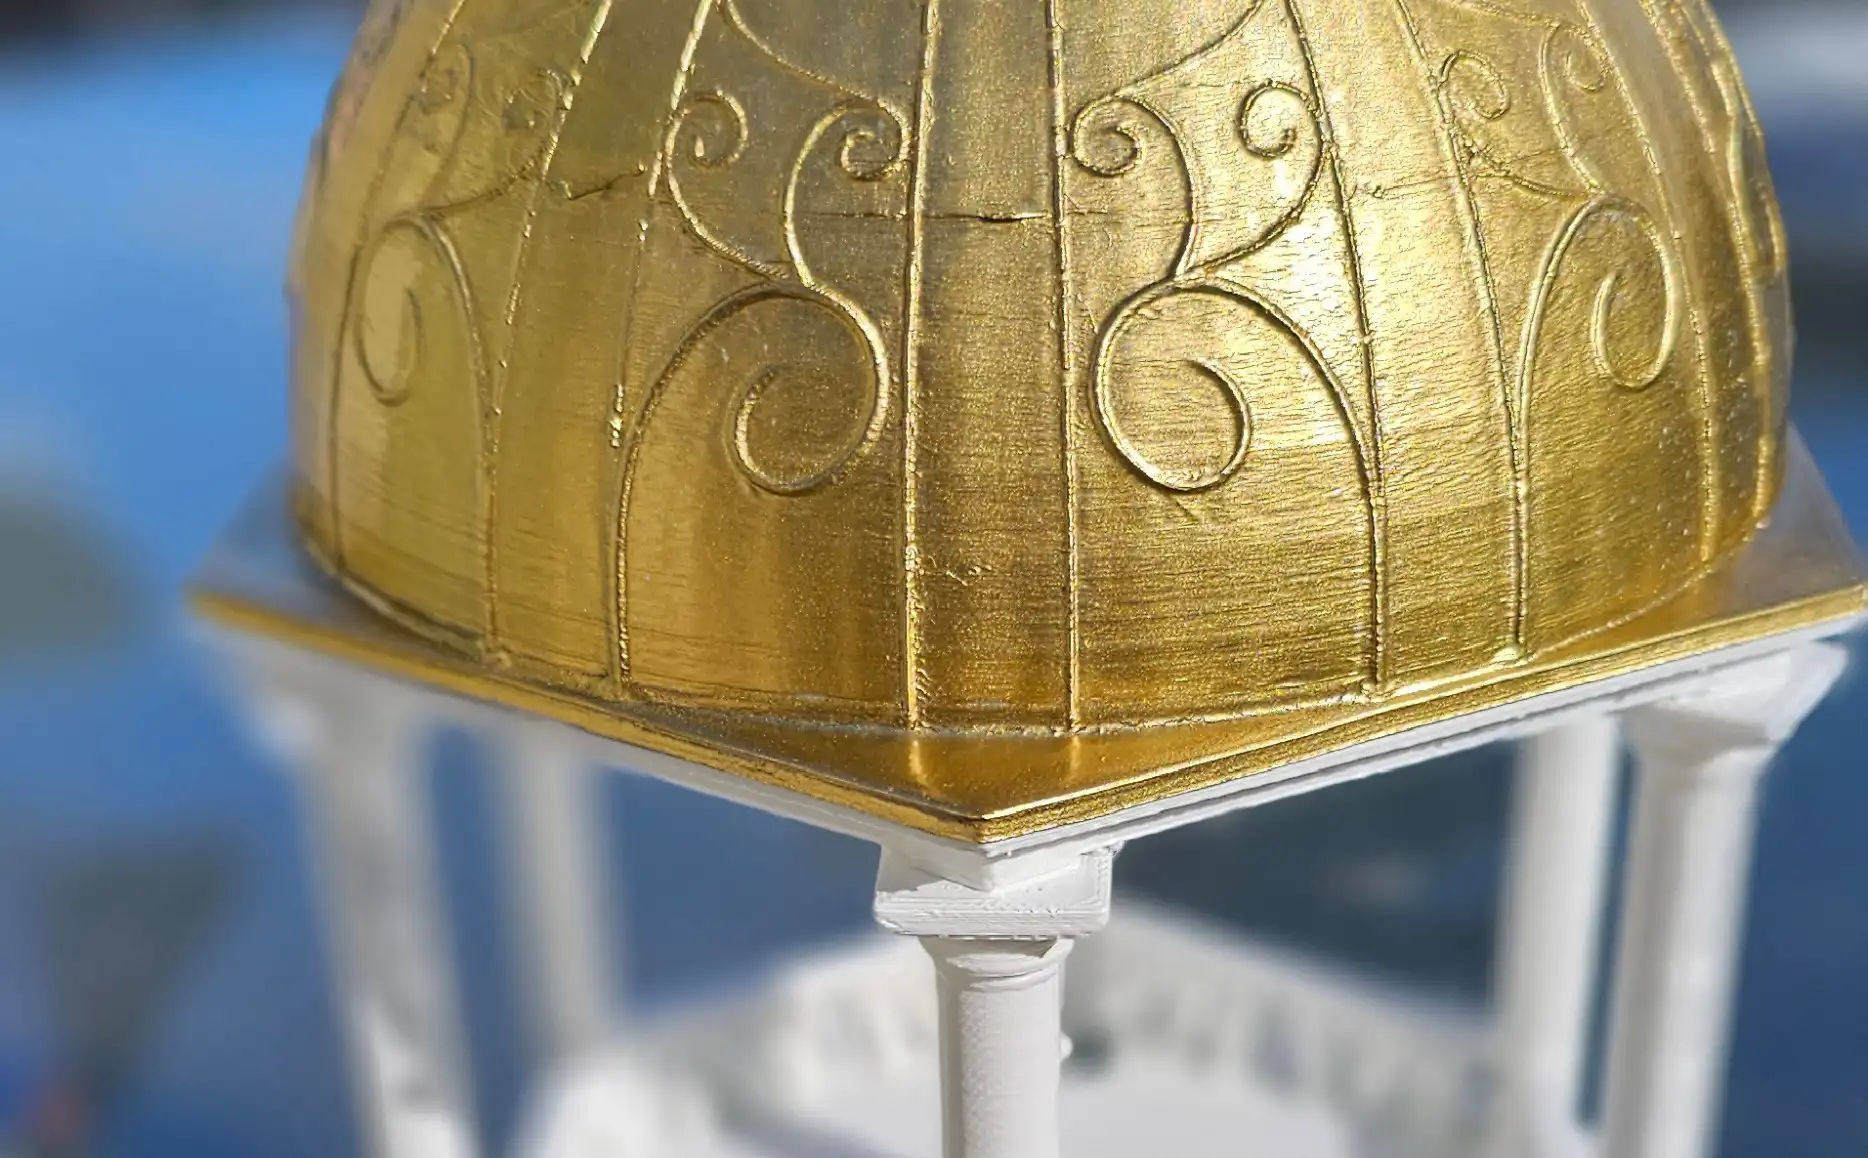
A little bit fantasy prop, a little bit practical fabrication. I adapted a Lord of the Rings-inspired stone gazebo model into a weather-resistant Google Mini housing for the deck, adding a custom speaker cradle, removable safety straps, and a split-print design so the dome and colonnade could be printed, painted, and assembled more cleanly.
Printed in PETG and finished with Krylon spray paint, it keeps the speaker protected through the summer while doubling as a tiny, deeply nerdy table centrepiece. The cable channel could use one more design pass, but as backyard problem-solving goes, this one earns full marks for function, fabrication, and unnecessary drama.
Google Mini Birdhouse
The first of my Google Mini “hidey-holes,” built from a beautifully detailed 3D model of an old American heritage-style home turned birdhouse — complete with a few extra perches for credibility.
I modified the design into a weather-protected speaker enclosure, mounted it beside the house, and kept the body accessible so it can slide apart if the speaker ever needs attention. It was painted by hand with acrylics, then sealed with a high-gloss spray finish to help it stand up to life outdoors.
The only thing I would change is adding a little sound-dampening material inside; the shell can resonate slightly, which makes the audio a bit thinner than I’d like. But for a tiny house hiding a smart speaker on the wall, it does the job beautifully — and it may still end up with seasonal porch accessories, because apparently even my speaker enclosures need curb appeal.
Solar Flame Tikis
This started as a rescue mission for a storm-damaged solar flame lantern. The light still worked, but the lantern body had taken enough of a beating that it was time for a second life.
The plan was simple: print a tiki statue in transparent teal PETG, tuck the flickering solar light inside, and let it glow like a tiny magical flame heart on the deck. The reality was less simple. Transparent 3D printing turned out to be far more temperamental than expected, and the first successful teal version was thick enough that the light barely made it through. Luckily, the model already had drainage holes, so he was promptly promoted to planter duty.
Several lessons, failed attempts, and print-setting experiments later, the yellow version got much closer to the original idea. The flame shines through properly, the lantern lives again, and the deck gets a little extra tiki drama after dark. I still want the teal version eventually — apparently he just needs a brighter heart.
Custom Hummingbird Feeders
After some real-world testing, a few flaws in my original designs became pretty obvious. The jars I was using had mouths that were too wide, and once the feeder started swaying in the breeze, nectar would dribble right out of the tray. So I went back to the drawing board. I actually had Claude help me build a calculator, based on some simple physics, to figure out better positioning for all the pieces: maximum “swing” on the chain, the right jar mouth width relative to the tray width, and how air and liquid exchange at the base.
From there, I switched over to juice bottles (Calypso Lemonade, if you’re familiar) and beefed up the perches around the trays. And once I had a solid template design worked out, it was surprisingly easy to spin off all kinds of variations and themes.
I’m still optimizing though. Letting more light through, making the nectar level easier to see, keeping the wasps out... it’s been keeping me busy. Always a work in progress.
The hummingbirds that nest in our yard every summer are wonderfully spoiled — homemade nectar, frequent feeder changes, and apparently very clear opinions about service levels. If something is not quite right, they are not shy about letting me know.
I wanted something more interesting than the standard hardware-store feeders, so I started experimenting with glass jars I liked and designing custom feeder bases around them. After a few rounds of trial, error, and mildly dramatic hummingbird supervision, the design started to take shape.
This became my first real project using FreeCAD and Blender together, both for building custom forms and adding surface textures. The design is still evolving, but there are now four feeders in the yard, including two designed entirely from scratch. The birds seem to use them all equally, which I am choosing to take as a five-star review.
Tools & Equipment
3D Printer
Flashforge Adventurer 5M Pro
Reliable workhorse for most functional printsCAD Software
FreeCAD & Blender
For parametric design and detailed modelingSlicer
OrcaSlicer
Fine control over supports and print settingsPrimary Filament
PETG & PLA
PETG for outdoor durability, PLA for detail workFinishing Tools
Files, Sandpaper, Paint
For cleaning up prints and adding detailAirbrush & Spray Booth
For Painting and Sealing
With exhaust fan, which helps me not pass out in the basementWant to talk 3D printing?
If you have questions about design, fabrication, or just want to share your own project disasters, feel free to reach out.
Get in touch ↗